
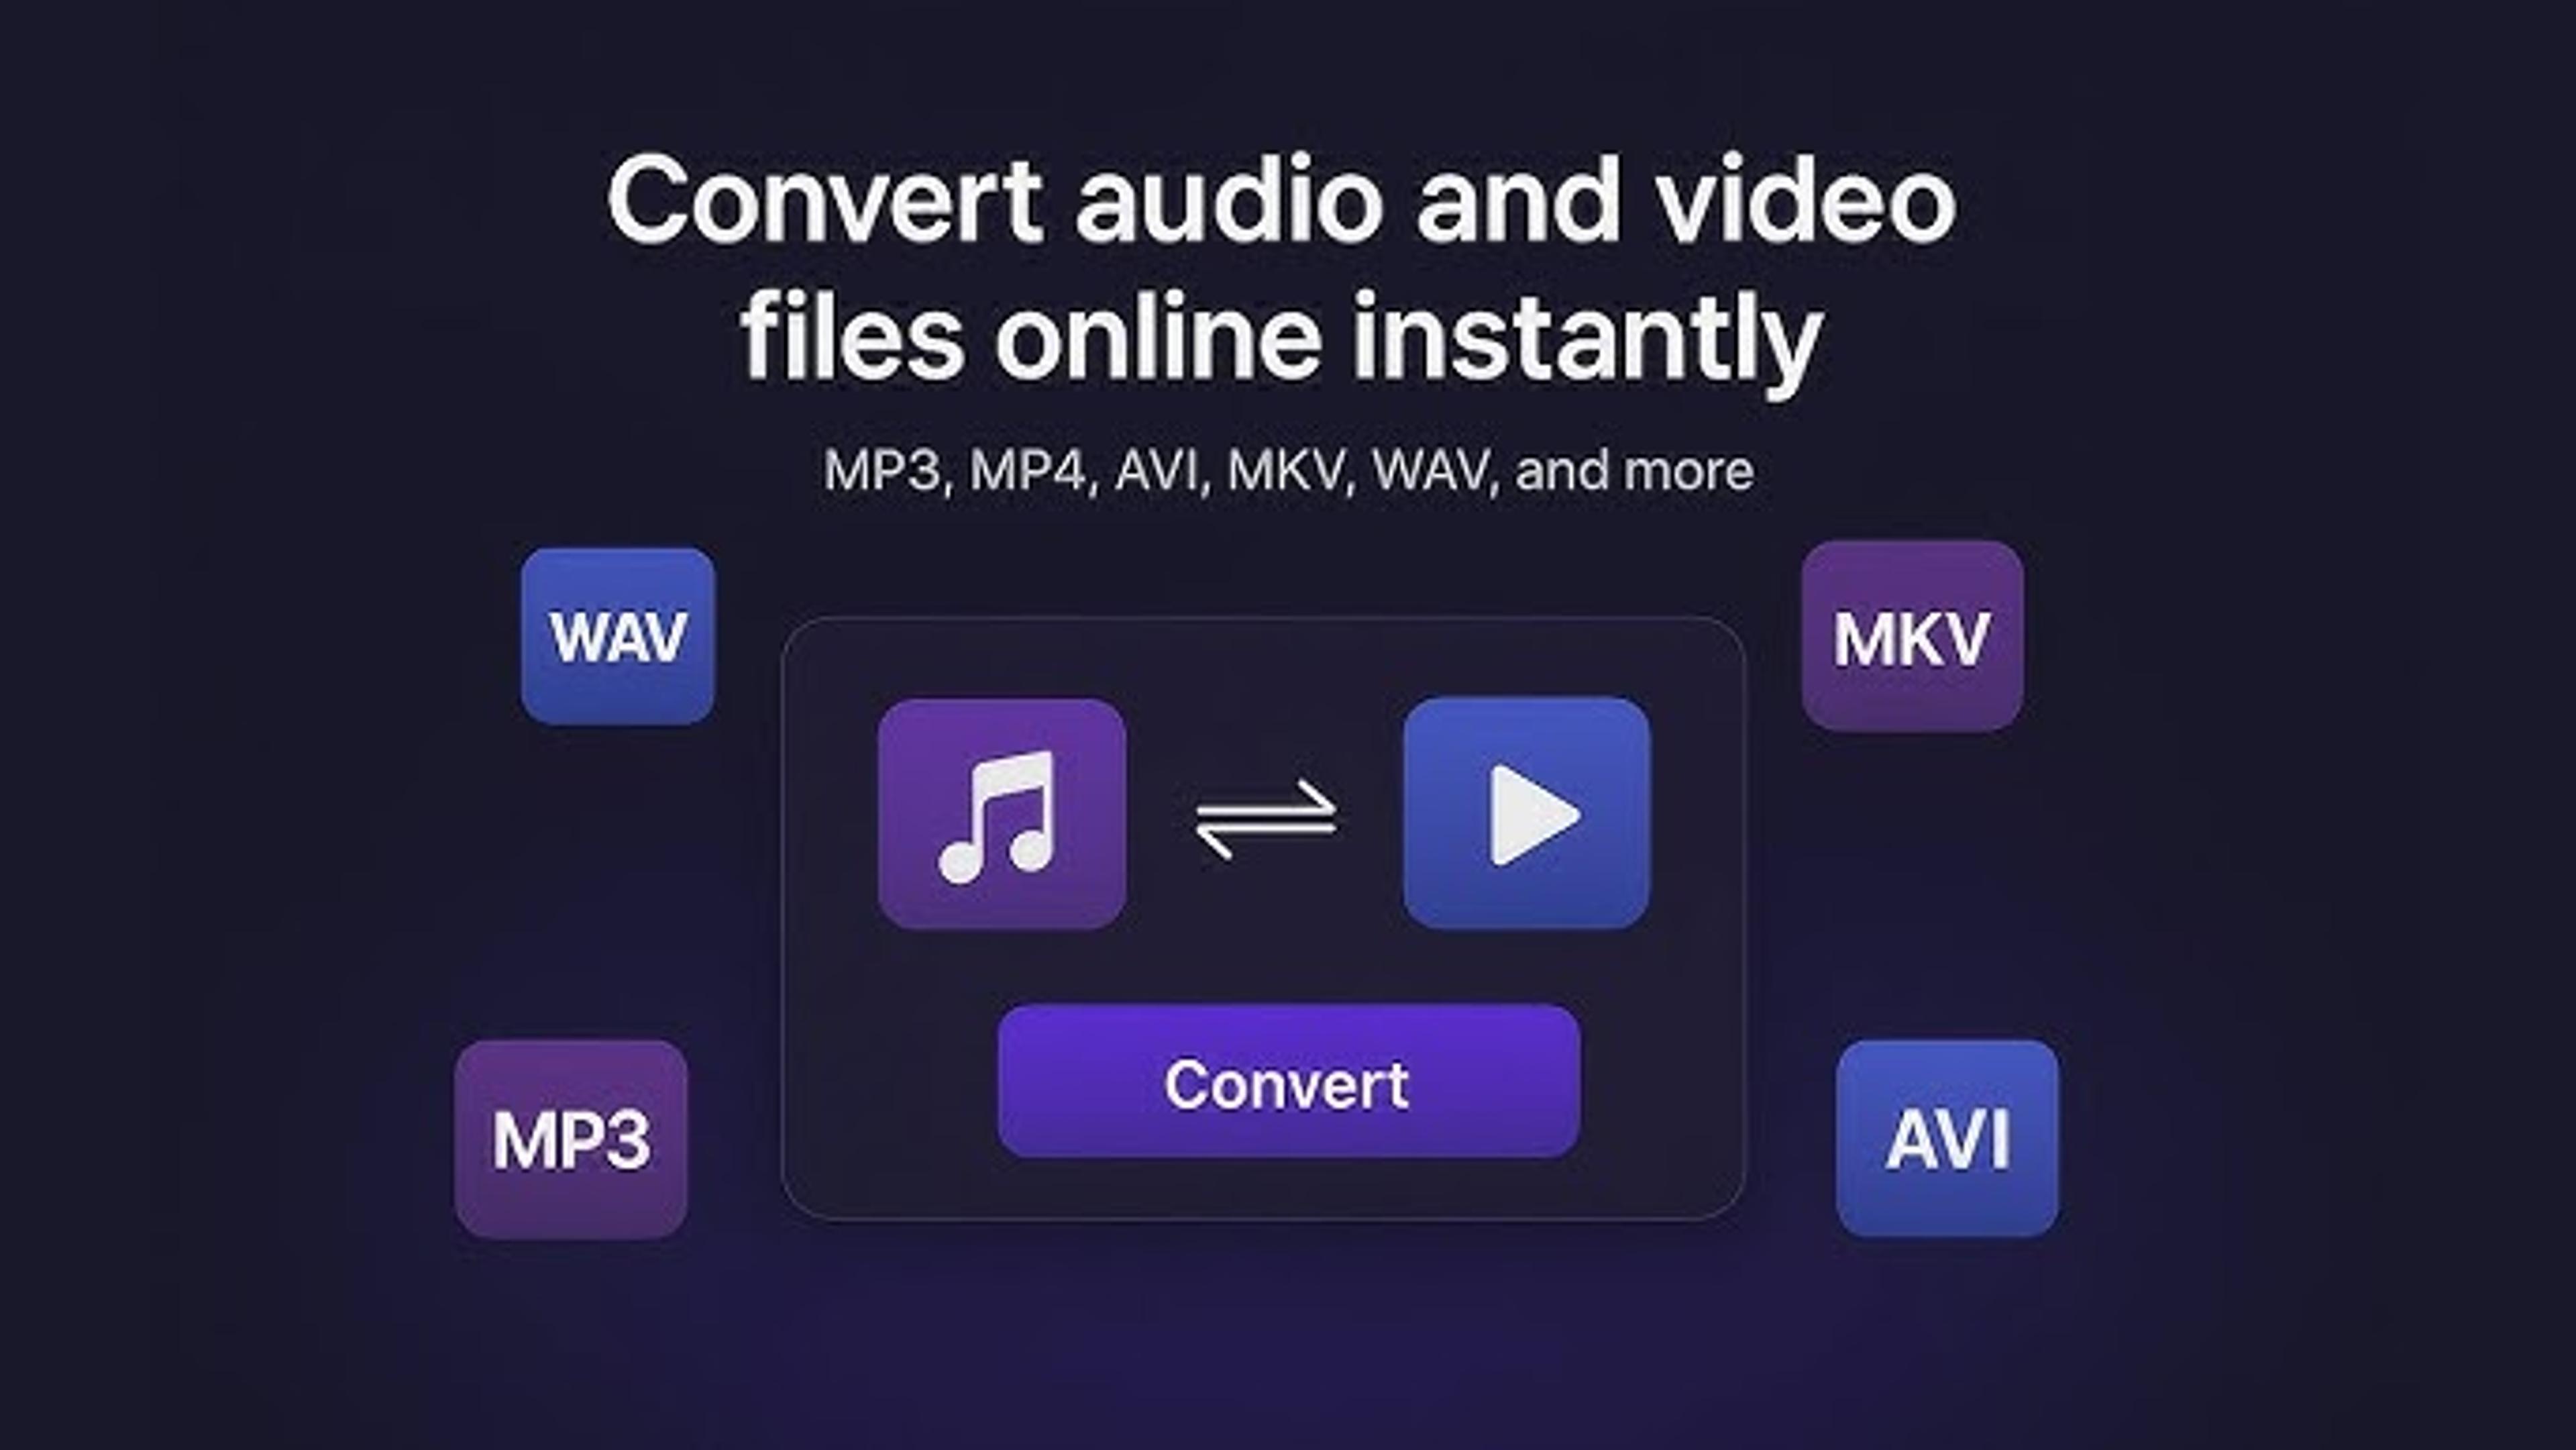
If you work with images for blogs, social media, or school projects, you need files in the right format and size. MediaConverter Online makes that easy. It is a free, browser-based tool that converts images in seconds. No software to install. No account to create. Just upload, choose a format, and download.
MediaConverter lets you convert images between popular formats like JPG, PNG, WEBP, GIF, BMP, and TIFF. This helps when a website rejects your file, a client sends a TIFF, or you need a smaller image for speed. It runs in your browser on any device, so it works on Windows, Mac, Linux, and mobile.
Why use it
- It’s fast and free.
- The interface is clean and simple.
- It supports the formats most people need.
- It’s perfect for one-off conversions and quick fixes.
Best format choices
- JPG: Great for photos. Small file sizes. No transparency.
- PNG: Best for graphics, logos, and screenshots. Supports transparency.
- WEBP: Modern format with excellent compression. Smaller files at similar quality.
- GIF: Simple animations and small graphics.
- TIFF/BMP: Large, high-quality formats. Good for editing or print; not for web.
How to convert an image step by step
1. Open the tool Go to MediaConverter.online or jump straight to the Image Converter
2. Upload your image Click the upload area or drag and drop your file onto the page. Start with the highest-quality version you have to keep results sharp.
3. Choose your output format Pick JPG, PNG, WEBP, GIF, BMP, or TIFF from the list. Not sure what to choose? For blogs and general web use, choose WEBP or JPG. For logos or screenshots with text, choose PNG or lossless WEBP. If you need a transparent background, avoid JPG.
4. Adjust quality if options appear If you see a quality slider, set JPG to 70–85 for a good balance. For WEBP, pick a similar setting or use lossless only when needed. If file size is still large, reduce image dimensions to 1200–1600 px wide for hero images, and 800–1200 px for inline images.
5. Convert Click Convert. The site processes your file and prepares the download. This usually takes a few seconds.
6. Download your file Click Download to save it. Rename the file with clear keywords, like hiking-boots-trail-test.webp, to help with SEO and organization.
Tips for better results
- Keep hero images under 200 KB when possible. This helps page speed and improves SEO.
- Use WEBP for most blog images to cut load times.
- Use PNG only when you need transparency or crisp lines in UI graphics or screenshots.
- Avoid converting lossy files multiple times; it can add artifacts.
- Keep an original backup in case you want to reconvert later.
Common fixes
- Background turned black? You converted a transparent image to JPG. Use PNG or WEBP with alpha.
- Image looks blurry? Increase quality or export at a larger width.
- CMS won’t accept the file? Convert to JPG, PNG, or WEBP, which most platforms support.
Final thoughts
MediaConverter Online is a quick, reliable way to convert images without hassle. Whether you need WEBP for speed, PNG for transparency, or JPG for compatibility, you can get the right format in a few clicks. Try it on a few sample images and pick the smallest file that still looks sharp. Then upload to your site with keyword-rich names and good alt text for a clean, fast, and search-friendly result.
Frequently Asked Questions
About Hamza Liaqat
Hamza Liaqat, our tech maestro, is a software engineer with a passion for cutting-edge technologies and experience of more than 7 years in tech industry. As the founder of DifferentDaily.com, he navigates the tech frontier, unraveling AI, Blockchain, and Web3 intricacies. Hamza's troubleshooting finesse and commitment to practical solutions make him your go-to guide for all things tech. Welcome to innovation, curated by Hamza Liaqat.