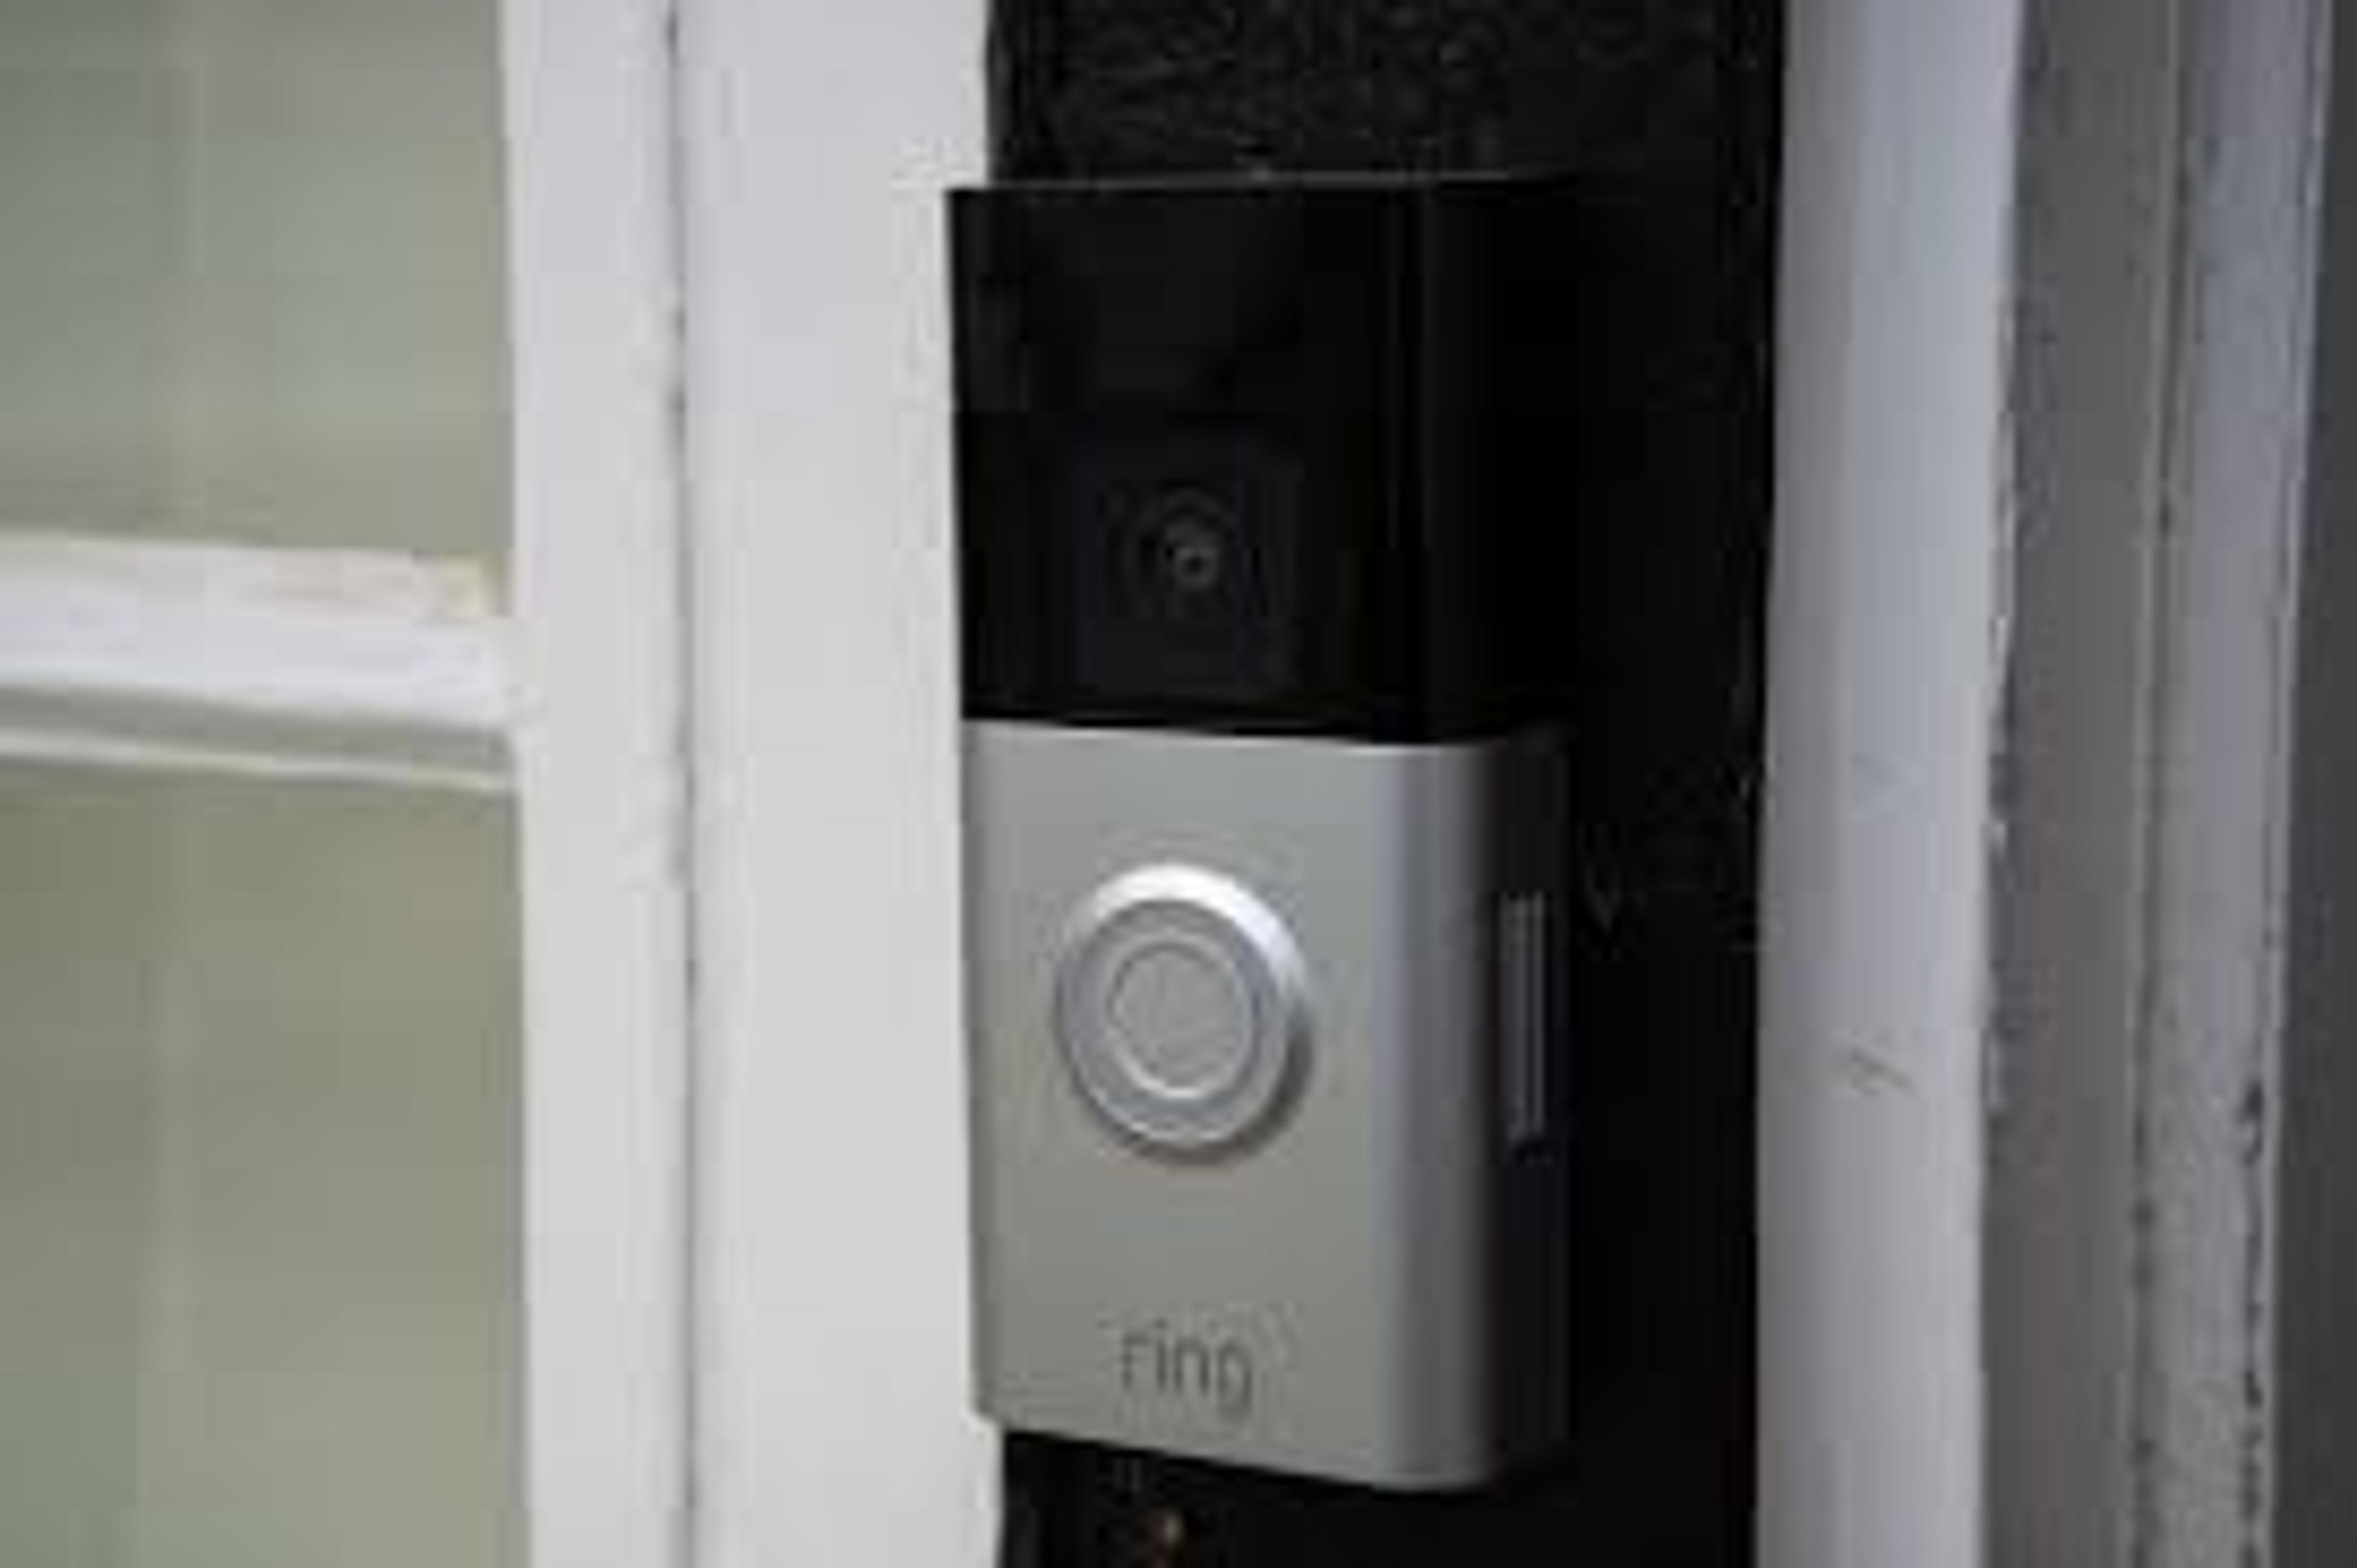
Are you having trouble with your Nest doorbell not recording? It can be frustrating when your security device doesn't function as expected. Understanding why this might be happening can help you address the issue effectively.
Several factors, including connectivity issues, power problems, or settings adjustments, could be at play.
By identifying the root cause, you can take steps to resolve the problem and ensure your doorbell operates smoothly. Let's explore some common reasons why your Nest doorbell might not be recording, which will help you troubleshoot and find a solution. Remember that it's crucial to adhere to the manufacturer's instructions and, if necessary, seek professional assistance.
An Overview of Nest Doorbells and Recording
Nest doorbells are handy devices for keeping your home safe. They come with cool features, including video recording, to capture what's happening outside your door. But sometimes, you might wonder why your Nest doorbell isn't recording.
Nest doorbells work by detecting motion or someone ringing your doorbell. When this happens, they start recording video automatically. However, several factors can affect this process.
Your Nest doorbell may not record due to Wi-Fi problems, low battery, or settings not properly adjusted. It's essential to check these factors if you're facing recording issues.
Common Reasons Your Nest Doorbell Not Recording
Weak Wi-Fi Signal: Check your Wi-Fi connection if your Nest doorbell isn't recording. A weak signal can hinder communication with the Nest servers, affecting recording capability.
Low Battery: Insufficient battery power can cause your doorbell to stop recording. Ensure your Nest doorbell has enough battery charge, or consider using a wired power source.
Motion Detection Settings: Incorrect motion detection settings might be the culprit. Adjust sensitivity levels or detection zones to ensure your doorbell captures motion effectively.
Software Updates: Sometimes, missed recordings could be due to pending software updates. Ensure your Nest doorbell's firmware is current to avoid any recording glitches.
Storage Limitations: Exceeding storage limits on your Nest account can prevent new recordings. Check your storage status and consider upgrading if necessary.
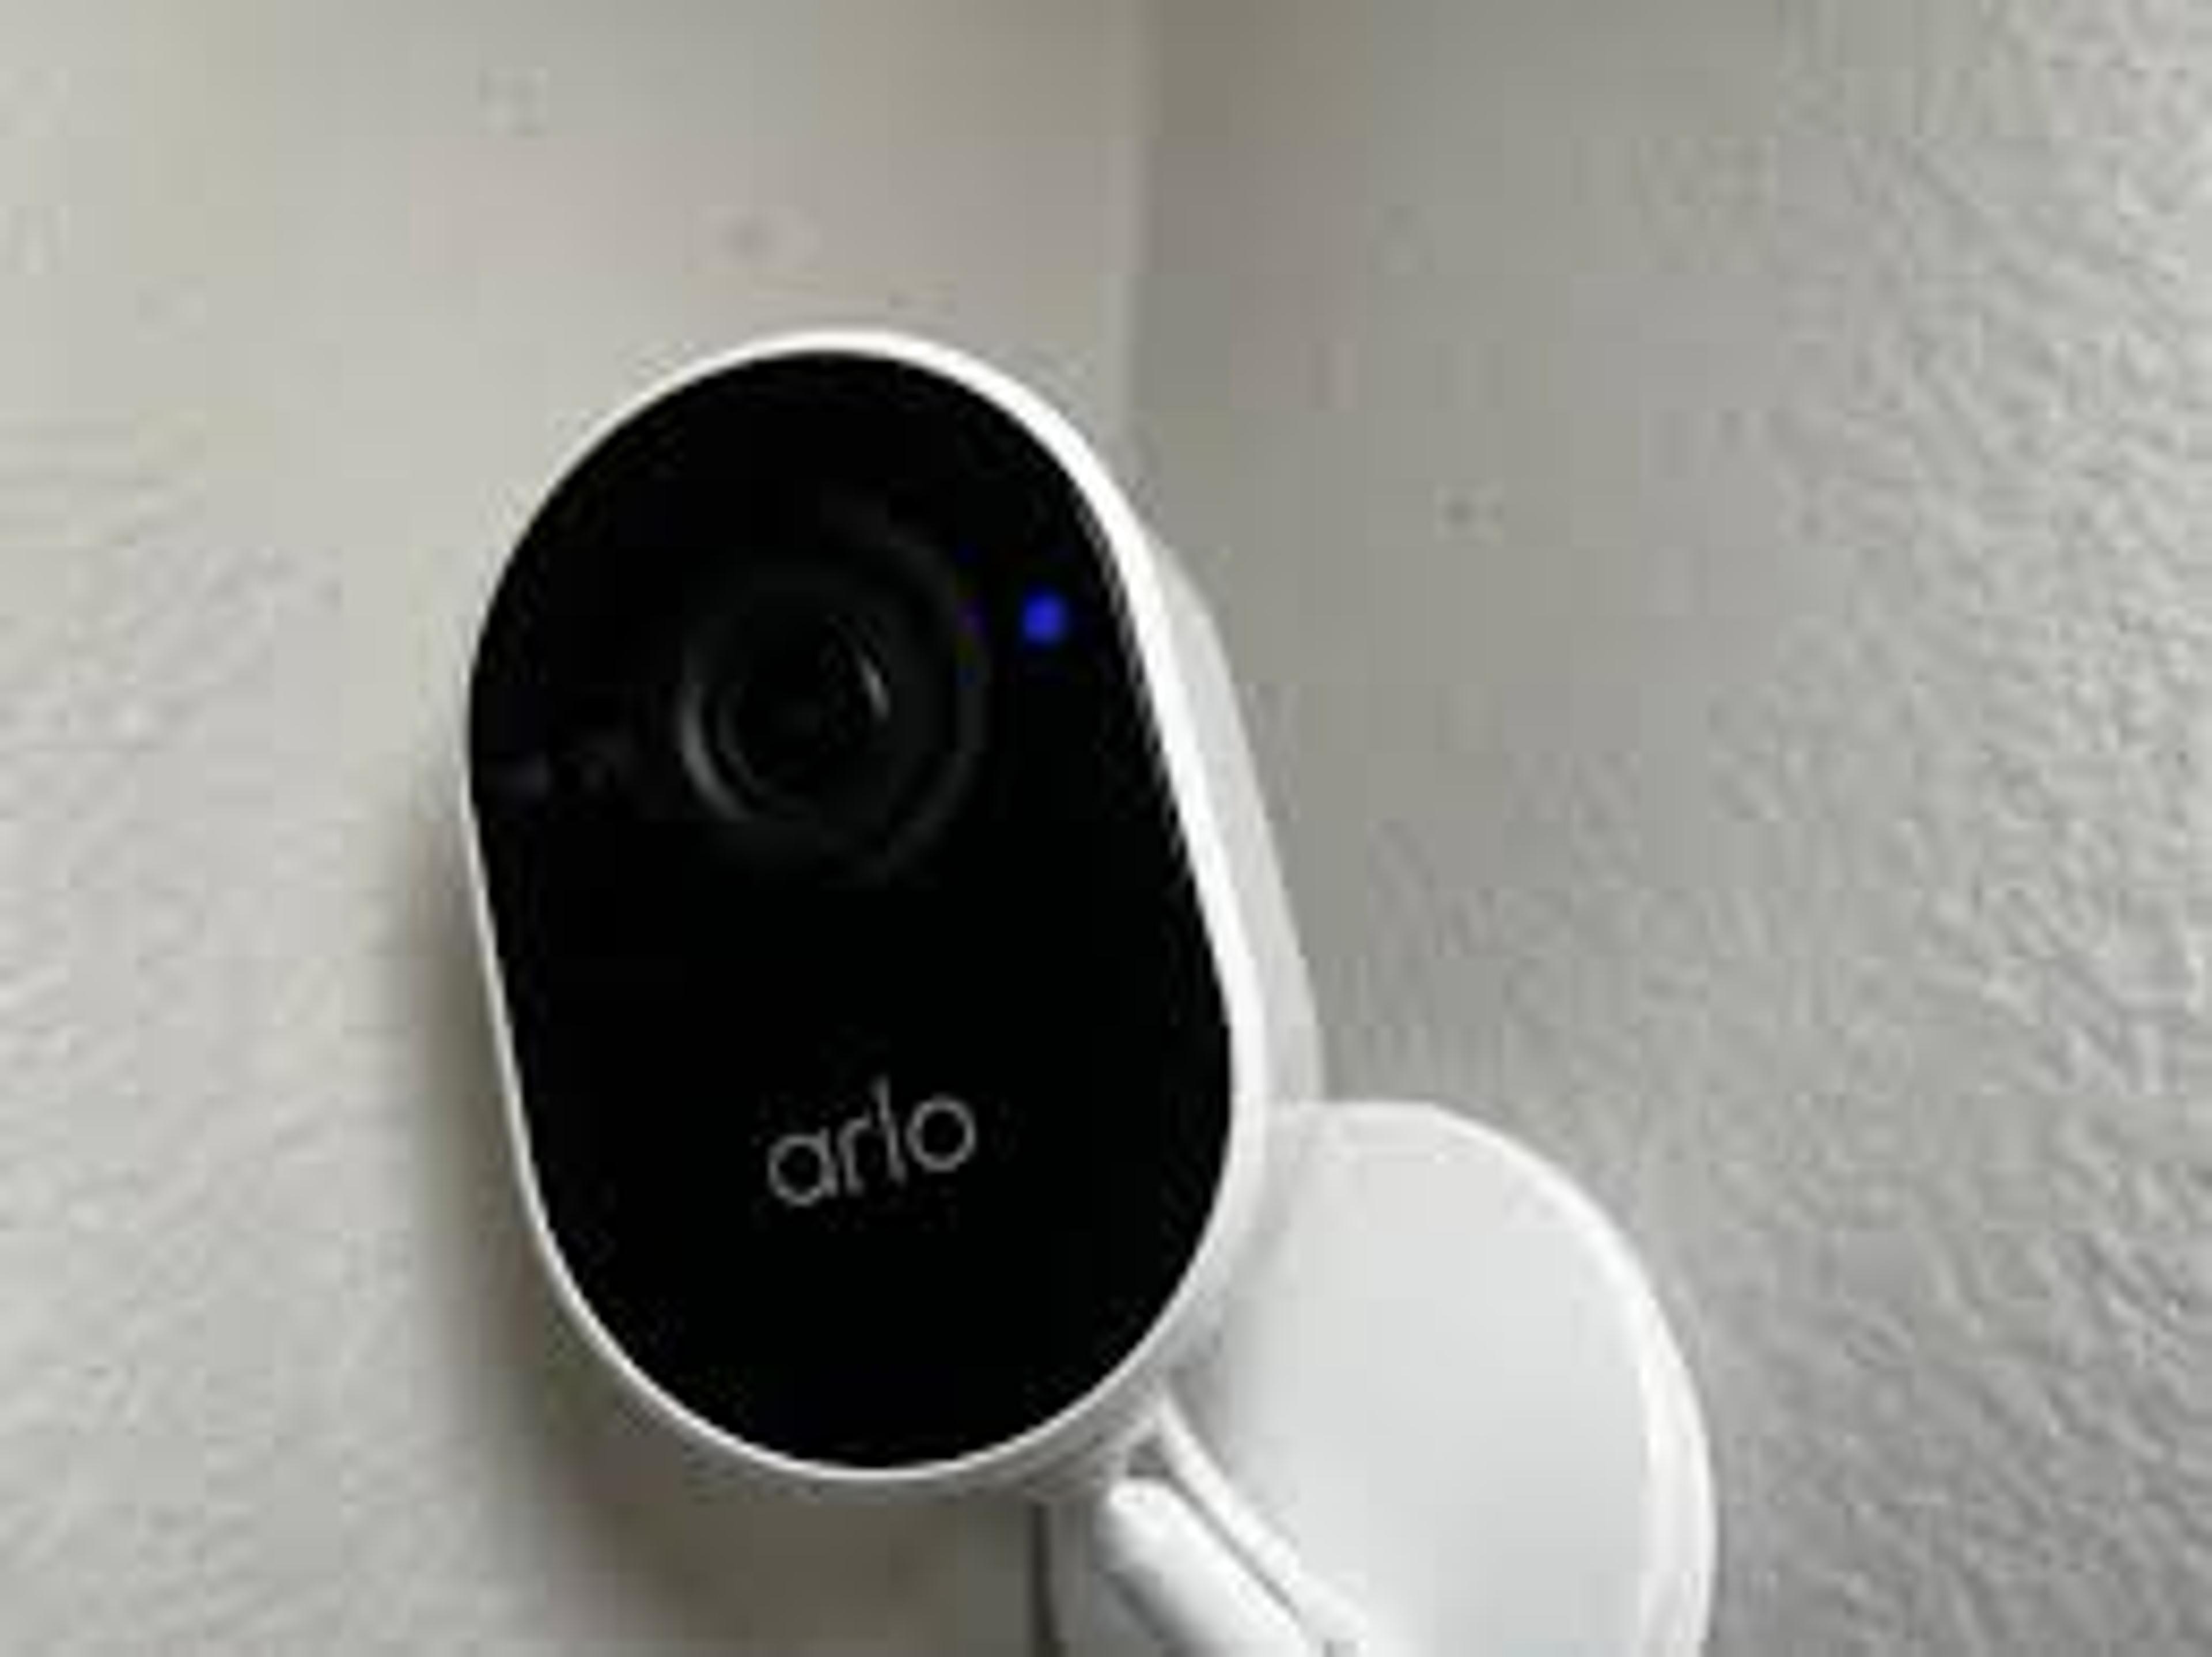
Why is my Google Nest Camera not Saving Recordings?
If your Google Nest camera isn't saving recordings, it can be frustrating, but there are reasons why this might happen. Firstly, ensure your camera has a stable internet connection.
A weak or intermittent Wi-Fi signal can disrupt the camera's ability to save recordings to the cloud. Secondly, check if your camera's storage subscription is active and up to date.
Running out of storage space can prevent new recordings from being saved. Lastly, ensure that your camera's firmware is updated. Sometimes, outdated software can cause glitches in the recording process.
You can troubleshoot why your Google Nest camera isn't saving records and fix the issue by addressing these potential problems.
How do I get my Nest Camera to Record?
If you're wondering how to make your Nest camera record, it's easier.
Ensure your camera is properly set up and connected to Wi-Fi. Next, check your camera's settings in the Nest app.
Look for options related to recording and make sure they're enabled. Most Nest cameras have motion detection features, so ensure this setting is turned on.
To tell the camera where to focus its recording efforts, think about creating activity zones.
Finally, while certain capabilities could need a subscription, be sure your camera has a plan that includes recording services. You can quickly set up your Nest camera and start recording by following these simple steps.
Checking Your Nest Doorbell Settings
Open Nest App: Start by opening the Nest app on your smartphone or tablet. This is where you can access and adjust your doorbell settings.
Select Your Doorbell: In the app, locate and select your Nest doorbell from the devices connected to your account. It should be listed under "Cameras" or "Doorbells".
Access Settings: Once you've selected your doorbell, navigate to the settings menu. Look for an icon or option labeled "Settings" or "Device Settings."
Review Recording Options: Find the section related to recording options within the settings. You can check if motion detection is enabled and adjust other recording settings.
Save Changes: After reviewing and adjusting your doorbell settings, save any changes made before exiting the app. This ensures your preferences are applied correctly.
Troubleshooting Wi-Fi and Connectivity Issues
If you're experiencing Wi-Fi and connectivity issues with your Nest devices, you can take steps to troubleshoot and resolve them. Ensure your Wi-Fi network is working properly by checking other connected devices.
If the Wi-Fi signal seems weak or intermittent, try moving your Nest device closer to your router or installing a Wi-Fi extender.
Restart both your Wi-Fi router and your Nest device to refresh the connection. Sometimes, a simple reset can fix temporary connectivity problems. Your Nest device's firmware is current; software updates frequently enhance Wi-Fi capabilities. You may successfully resolve Wi-Fi and connectivity difficulties with your Nest devices by following these troubleshooting methods.
How to Check for Mechanical or Hardware Problems?
If you suspect mechanical or hardware problems with your Nest device, there are simple ways to check. Firstly, visually inspect the device for any physical damage or signs of wear and tear. Ensure all cables and connections are secure and undamaged.
Listen for unusual noises when the device operates, which could indicate internal mechanical issues. If your device has moving parts, such as a doorbell or camera lens, make sure they move smoothly without any resistance.
Check the device's battery (if any) and power source to ensure they operate properly. You may find and fix any mechanical or hardware issues with your Nest device by doing these inspections.
Resetting and Updating Your Nest Doorbell Firmware
If you need to reset or update your Nest doorbell's firmware, don't worry – it's straightforward. First, locate the reset button on your doorbell. This is usually a small button you can press with a paperclip or similar tool.
Hold the reset button for about 10 seconds until the light on your doorbell flashes. This indicates that the reset process has begun.
Once reset, you can then update the firmware through the Nest app. Open the app, navigate to your doorbell's settings, and look for the option to update firmware.
Follow the on-screen instructions to complete the update process. By following these steps, you can easily reset and update your Nest doorbell firmware.
Optimizing Placement for Best Motion Detection
To ensure your Nest device detects motion effectively, placing it in the right spot is crucial. Consider positioning it at a height that can capture the entire area you want to monitor. Please ensure no obstructions, such as trees or bushes, are blocking its view.
To assist in minimizing false warnings caused by moving objects in the distance, angle the device slightly lower so that it focuses on the ground. To avoid damaging the device's sensors, keep it out of direct sunlight.
Lastly, test different locations and adjust accordingly until you find the optimal placement for reliable motion detection. Following these simple tips, you can optimize your Nest device's placement for the best motion detection results.
Cleaning the Camera Lens and Motion Sensors
Regularly cleaning your Nest camera's lens and motion sensors is essential for maintaining clear and reliable footage. Start by gently wiping the camera lens with a soft, dry cloth to remove any dust, dirt, or smudges that may have accumulated. Be careful not to scratch the lens surface.
Use a can of compressed air or a soft brush to remove debris from the motion sensors around the camera. Ensure no obstacles are blocking the sensors' view.
You can ensure that your Nest camera performs at its peak, giving you crisp, accurate footage of your surroundings by keeping the lens and sensors clean. For best results, remember that these cleaning duties should be done regularly..
In Last Thoughts
Maintaining the functionality of your Nest devices involves a combination of troubleshooting, maintenance, and understanding their features. You can ensure that your Nest doorbell or camera operates smoothly and reliably by addressing common issues such as connectivity problems, firmware updates, and mechanical checks.
Optimizing placement for motion detection and regularly cleaning the lens and sensors are crucial to maximizing their effectiveness.
It is imperative to adhere to the manufacturer's requirements and seek professional assistance to ensure the security and functionality of your Nest devices. You can take advantage of the peace of mind of a functioning home security system by keeping these tips in mind.
Frequently Asked Questions
How long does Nest doorbell store video?
Nest doorbells typically store video recordings for up to 30 days with a Nest Aware subscription. Without a subscription, you can view live video feeds but won't have access to recorded footage.
Can I record Nest doorbell locally?
Nest doorbells do not support local recording directly to a storage device like an SD card. However, you can use compatible devices or services to integrate with your Nest system for local recording capabilities.
Does Nest doorbell record events?
Yes, Nest doorbells record events when motion is detected or when someone rings the doorbell. These recordings are stored in the cloud for later viewing and are accessible through the Nest app.
About Hamza Liaqat
Hamza Liaqat, our tech maestro, is a software engineer with a passion for cutting-edge technologies and experience of more than 7 years in tech industry. As the founder of DifferentDaily.com, he navigates the tech frontier, unraveling AI, Blockchain, and Web3 intricacies. Hamza's troubleshooting finesse and commitment to practical solutions make him your go-to guide for all things tech. Welcome to innovation, curated by Hamza Liaqat.