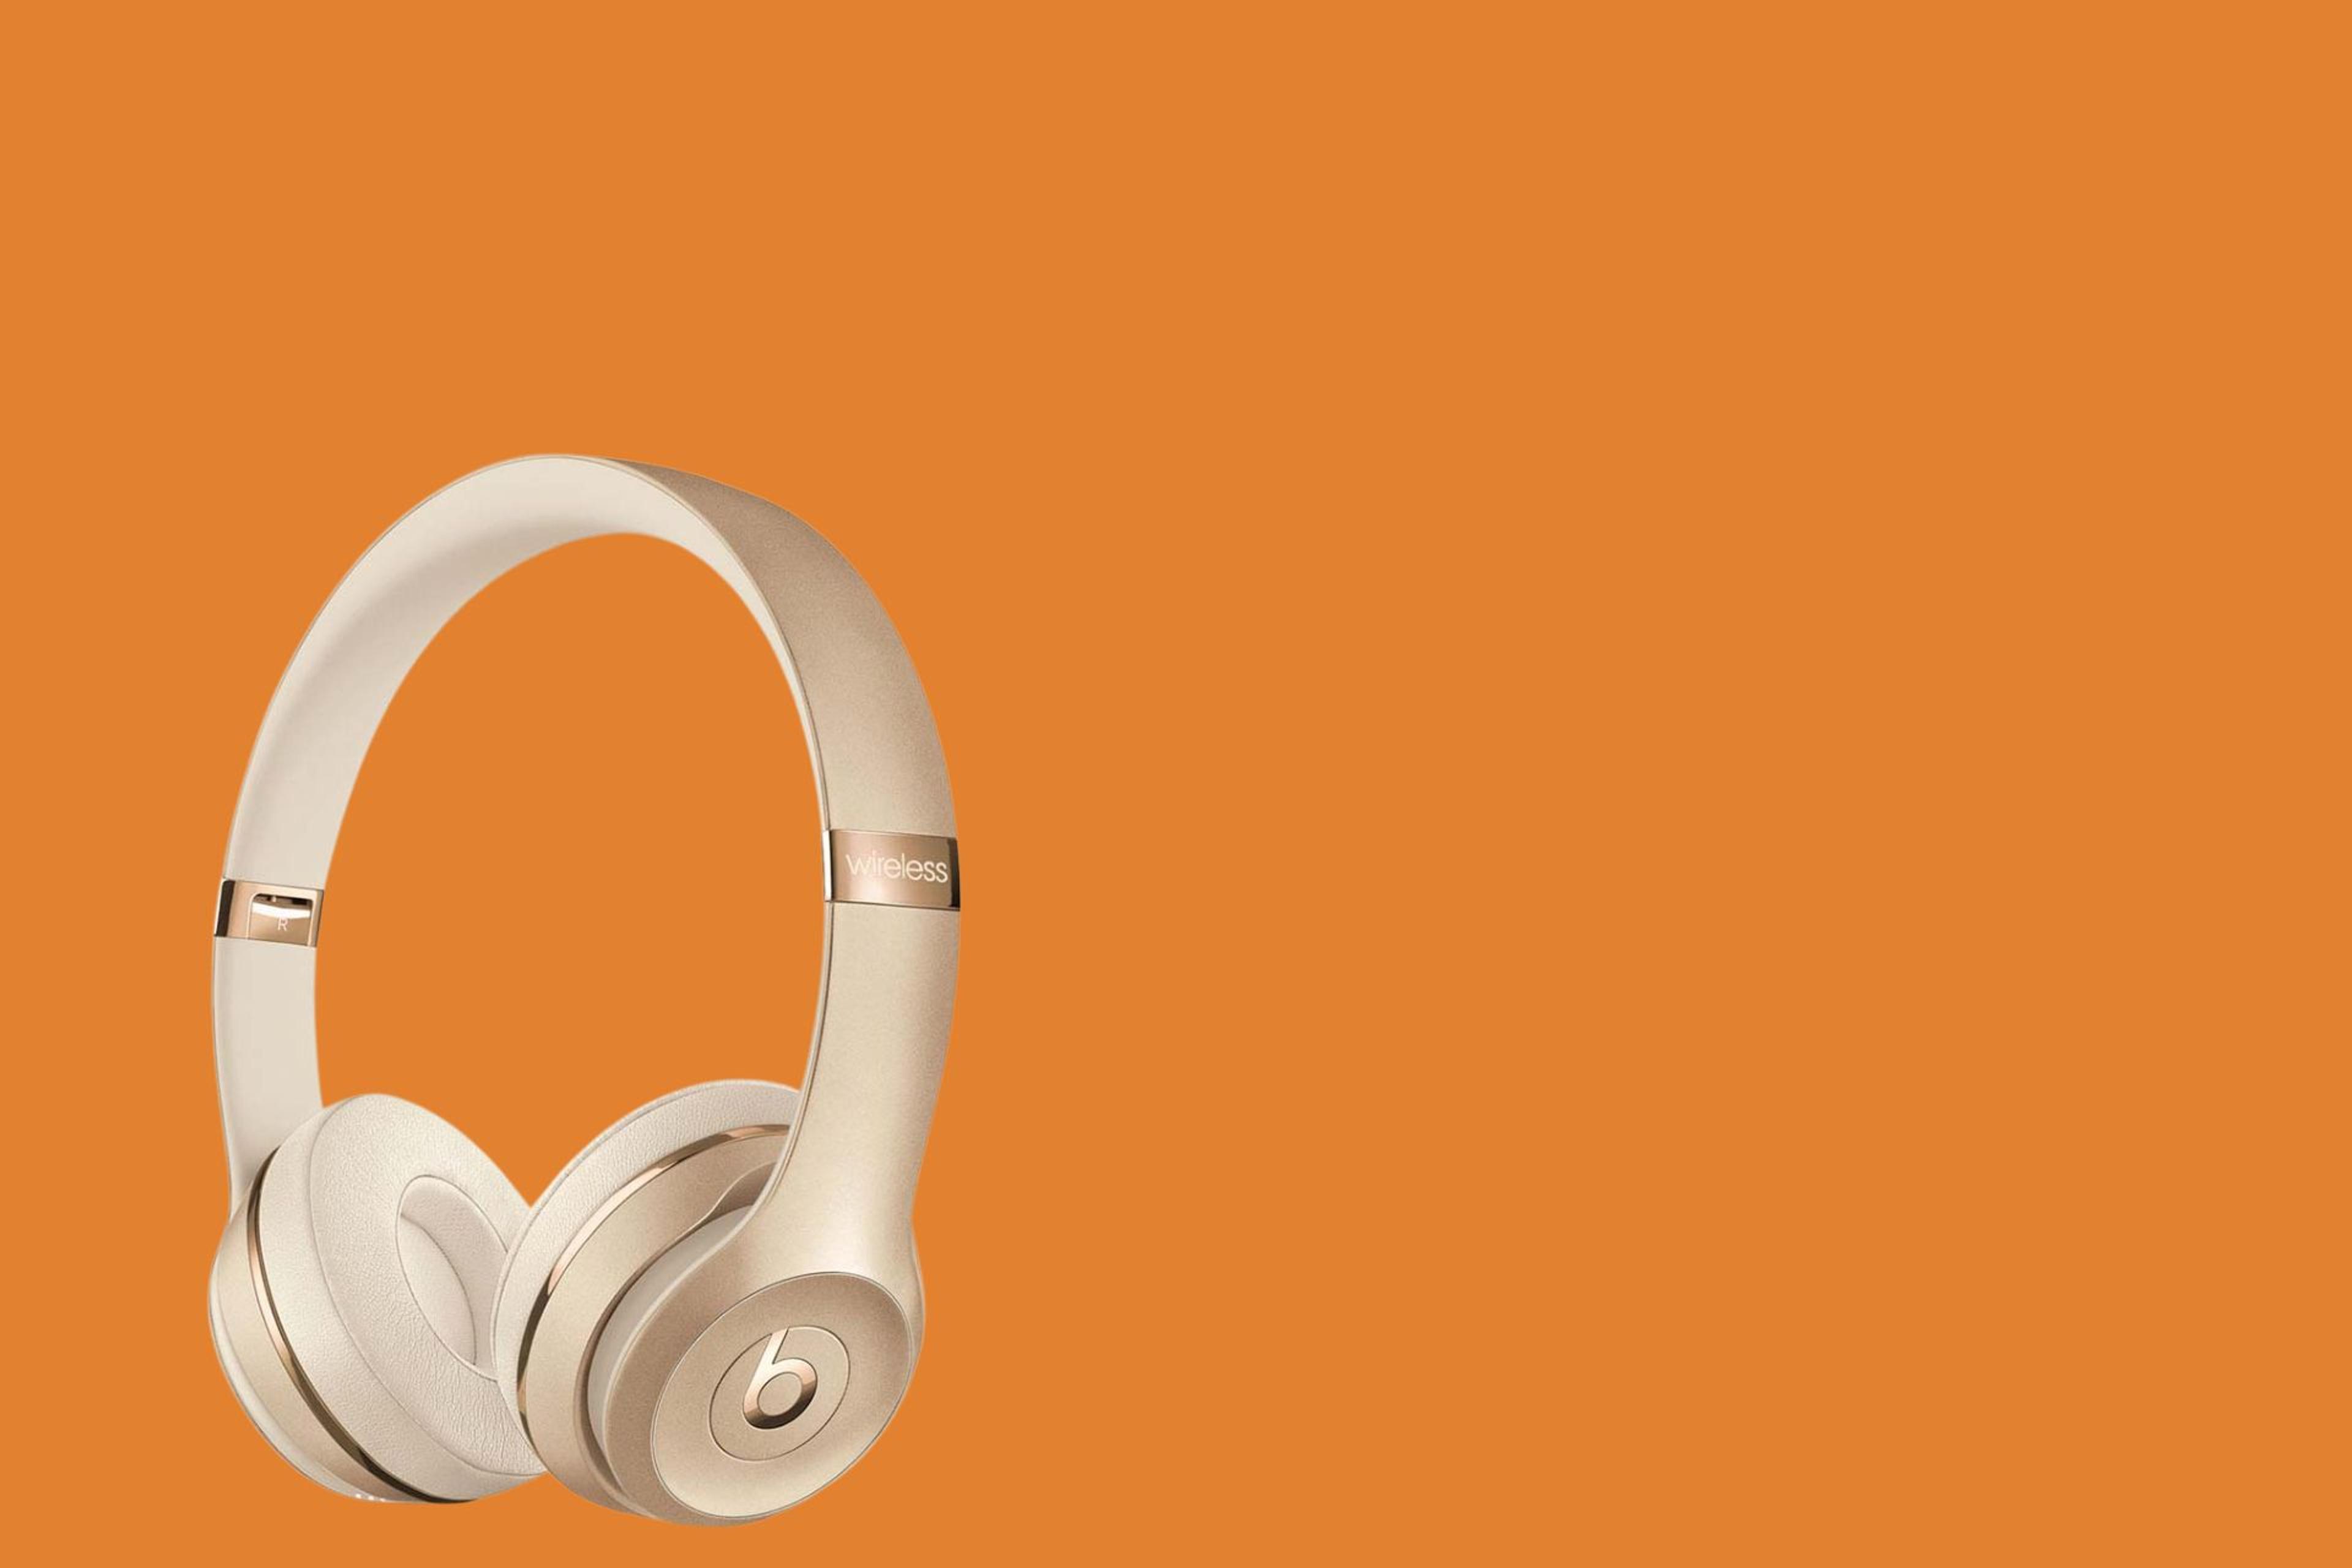
It can be really annoying when your favorite Beats Solo headphones stop working all of a sudden, especially if you use them to listen to music or podcasts every day.
This common problem can occur for a variety of reasons, ranging from battery issues to software glitches. Don't worry, though – many of these issues can be resolved with some simple troubleshooting steps.
This article will talk about the most common reasons why your Beats Solo headphones might stop working. It will also give you easy-to-follow steps to get your music playing again right away.
Possible Causes for One Earbud Not Working
When one earbud of your Beats Solo headphones stops working, it can be frustrating. This issue can stem from a variety of causes:
- Clogged Earbud Mesh: Over time, earwax or debris can accumulate on the earbud's mesh, blocking sound. Gently cleaning the mesh can often resolve this issue.
- Wiring Issues: Frequent bending or twisting of the headphones' wire can lead to internal wire damage. This is particularly common near the jack or the earbuds themselves.
- Bluetooth Connectivity Problems: If you're using wireless Beats, Bluetooth connectivity issues can result in sound only playing in one earbud. Try reconnecting or resetting your Bluetooth connection.
- Audio Balance Settings: Incorrect settings on your device can cause sound to play in one earbud only. Check the audio balance settings to ensure they are centered.
- Hardware Malfunction: In some cases, the problem could be a hardware malfunction requiring professional repair or replacement.
Why did my Beats Solo stop working in one ear?
When your Beats Solo headphones stop working in one ear, it's typically due to a few common issues. One of the most frequent causes is a problem with the internal wiring.
Over time, regular use can lead to wear and tear, especially if the cord is frequently bent or twisted. This can result in a loss of connection in one earpiece. Another potential cause could be a clogged earbud.
Dirt, debris, or earwax can accumulate over time, blocking the sound output in one ear. Additionally, software issues, such as incorrect audio balance settings on your device, could also lead to sound only playing in one ear.
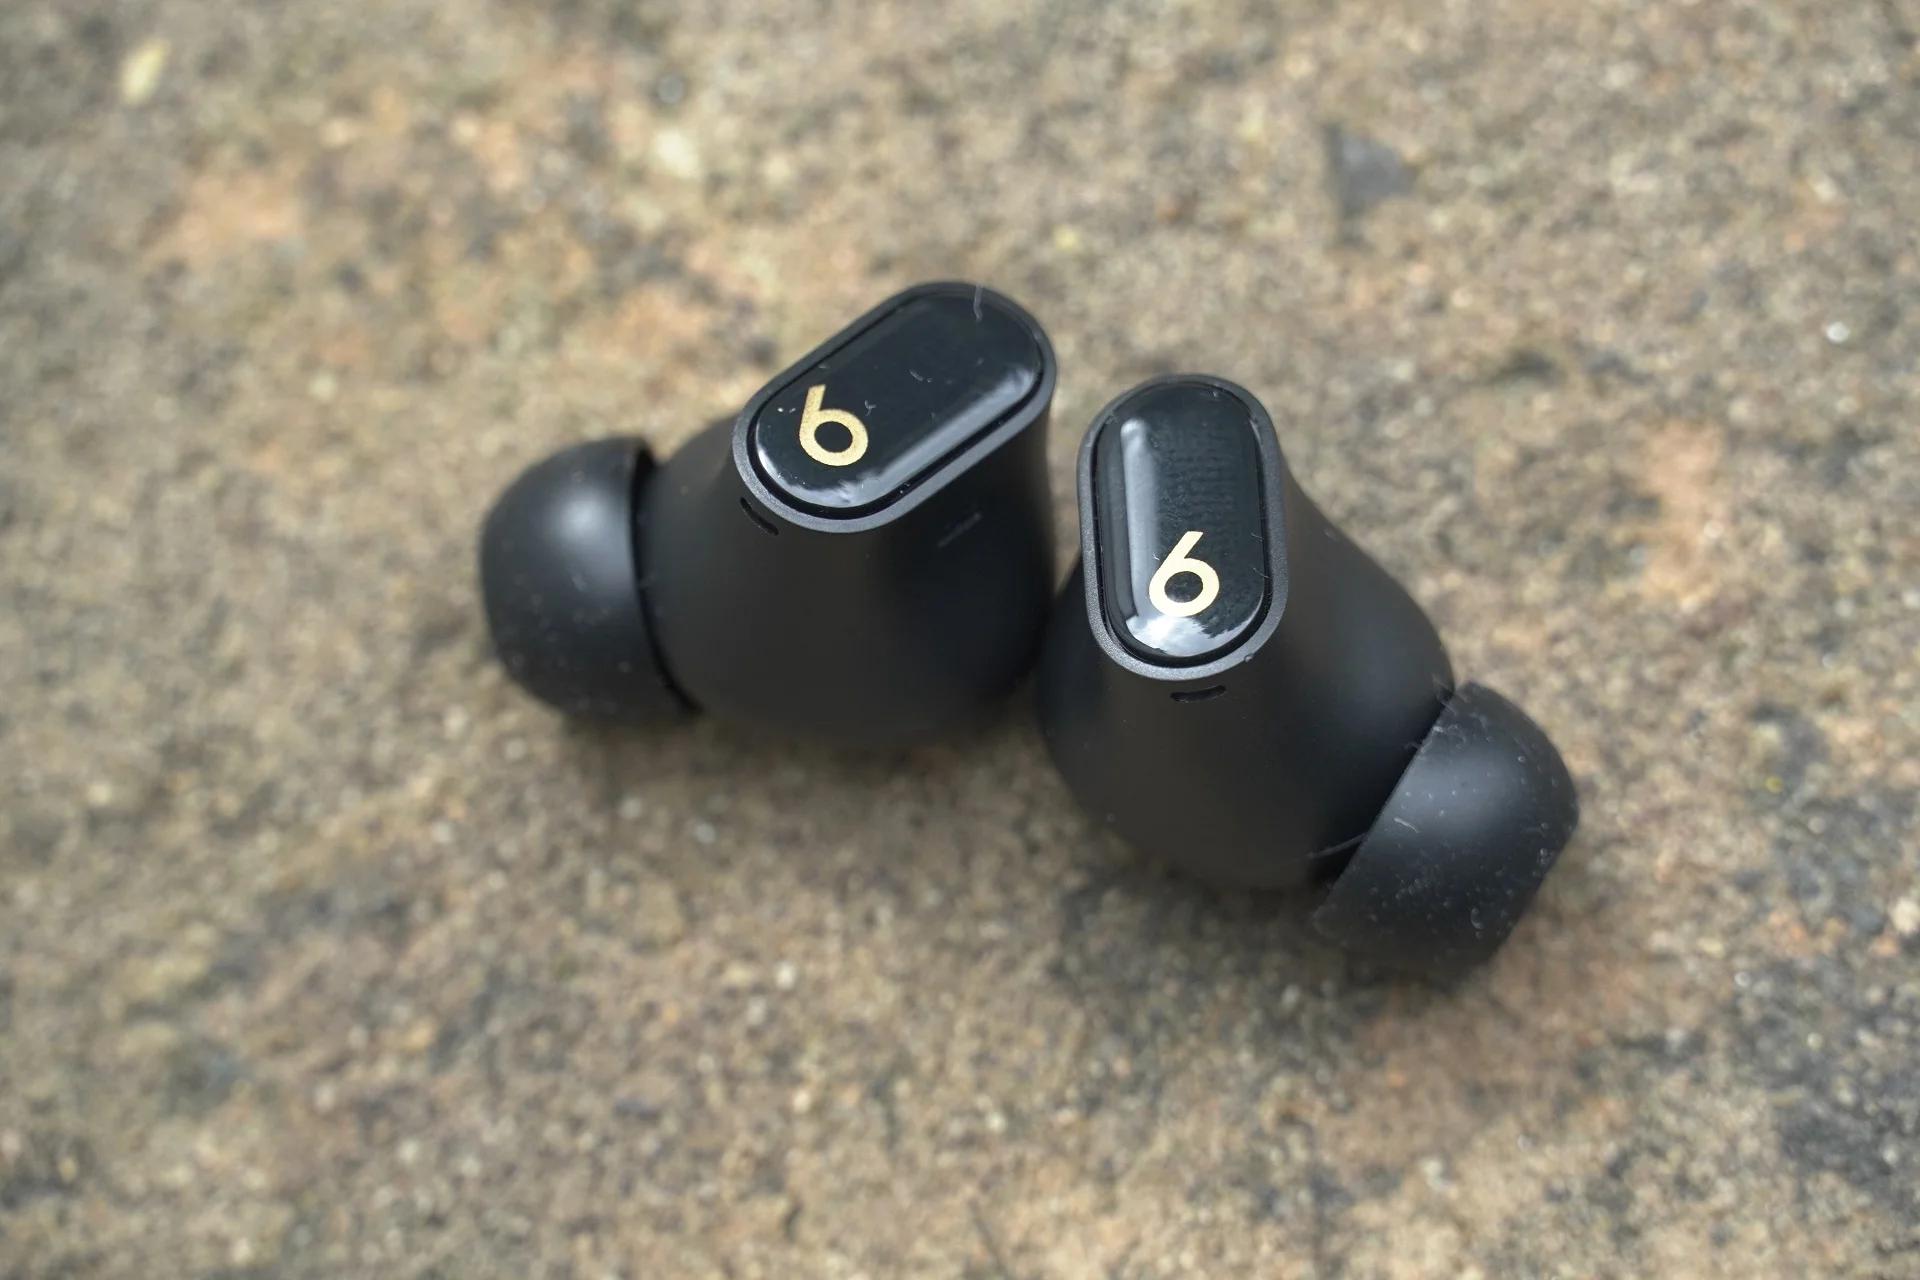
In some instances, a hardware malfunction may be the culprit, necessitating professional repair or replacement of the headphones.
Identifying Issues with Beats Solo Functionality
Identifying issues with your Beats Solo headphones involves understanding and observing various aspects of their functionality. Start by checking if they power on correctly and if the LED indicators are functioning as expected.
If they don't turn on, the issue could be related to the battery or charging port. Next, assess the sound quality in both earpieces. Distortion, crackling sounds, or one-sided audio signal potential problems.
Connectivity is another crucial aspect; for wireless models, ensure they pair seamlessly with your device and maintain a stable connection. Also, inspect the physical condition of the headphones, looking for any visible damage to the wires, ear cups, or headband.
Please pay attention to controls and buttons to ensure they respond appropriately. Understanding these key areas helps in accurately diagnosing and addressing issues with your Beats Solo headphones.
Checking Power and Battery Levels
Checking the power and battery levels is crucial when troubleshooting issues with your Beats Solo headphones. First, ensure your headphones are properly charged.
If they're not turning on, connect them to a power source using the supplied charging cable. An LED indicator typically shows the charging status: a blinking light often means the headphones are charging, while a steady light indicates a full charge.
If they don't seem to be charging, check the cable and power source for any issues. For wireless models, battery level can often be checked through a connected device, like a smartphone, where a battery indicator is usually displayed.
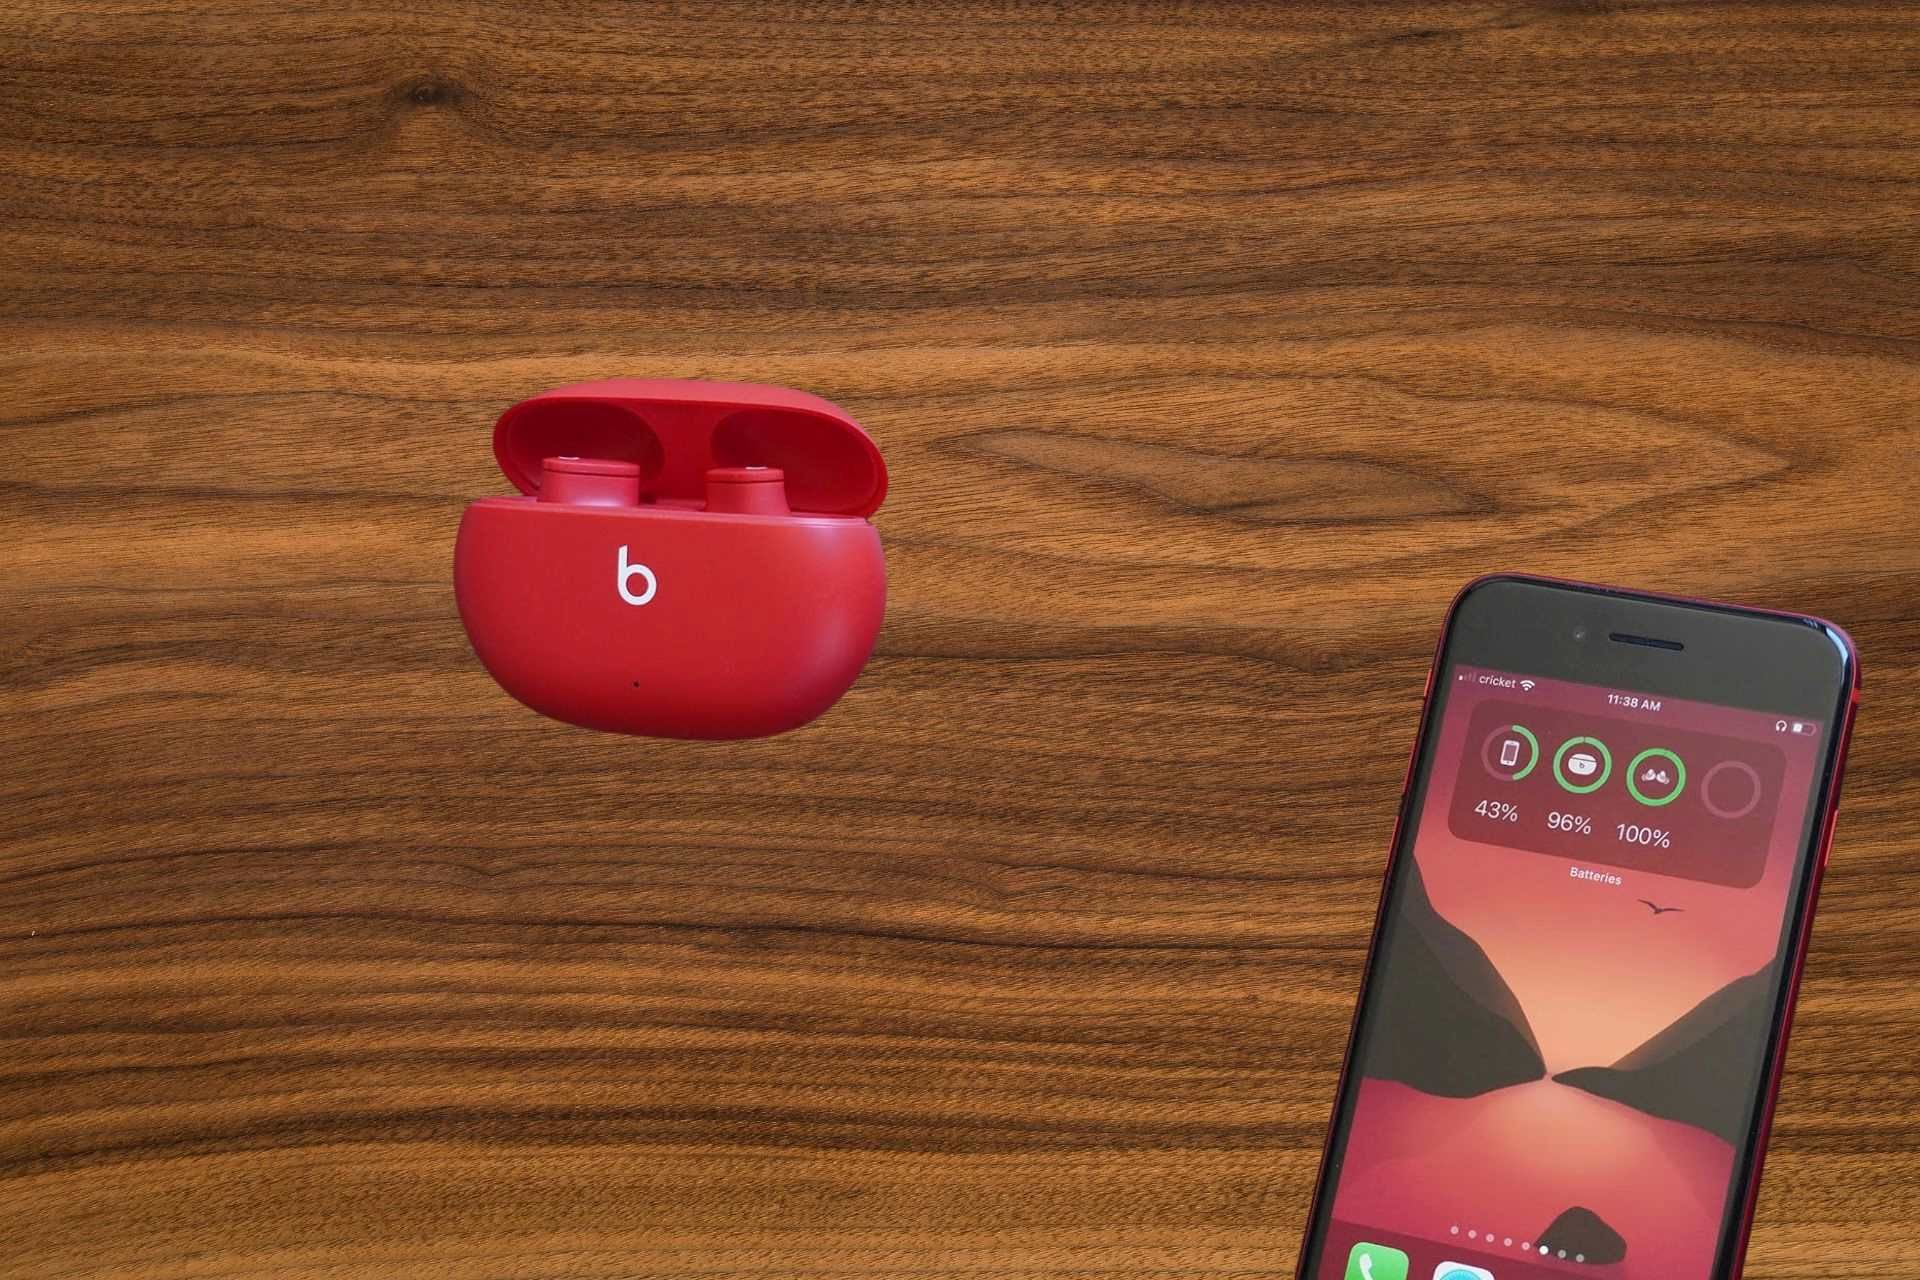
Remember, depleted batteries or charging issues are common reasons for headphones not functioning properly, so this should be one of the first checks in your troubleshooting process.
Inspecting Physical Damage on Your Beats
Inspecting your Beats headphones for physical damage is a crucial step in troubleshooting any issues you might be facing. Start by examining the external parts, such as the ear cups, headband, and outer casing, for any visible cracks, dents, or signs of wear and tear.
Pay special attention to the cables, looking for any fraying, kinks, or breaks, as these are common problems that can impact functionality. For wireless models, also inspect the charging port to ensure it's not damaged or obstructed.
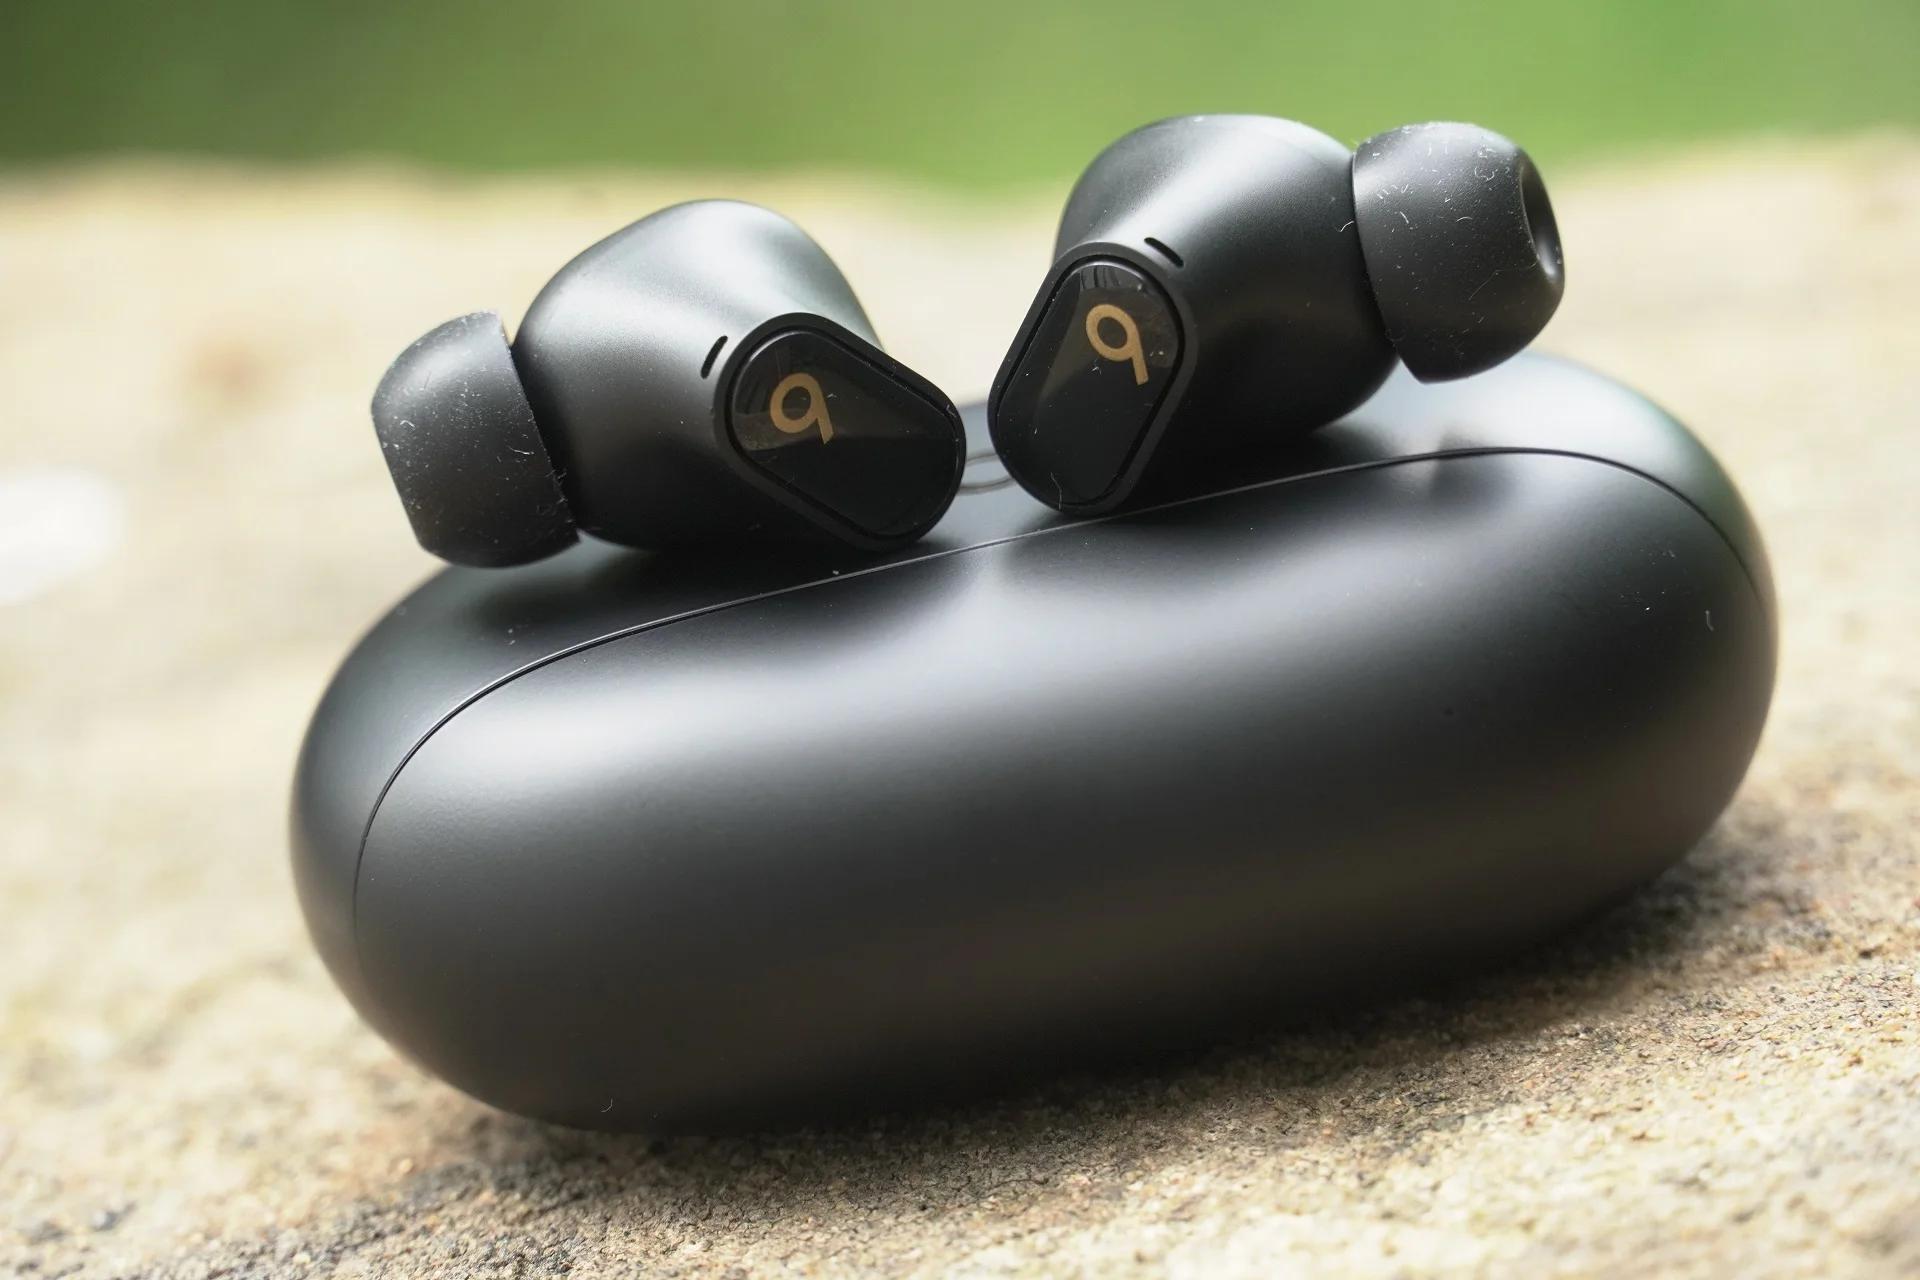
Additionally, check if the buttons and controls are intact and responsive. If you find physical damage, it could be the root cause of your headphone issues, and you might need professional repair or replacement parts to get them back in working order.
Can you get Beats repaired?
Yes, you can get your Beats headphones repaired. If your Beats are still under warranty, you can contact Apple (which owns Beats) for a warranty service.
They will typically either repair or replace the headphones, depending on the issue and warranty terms. If your Beats are out of warranty, you can still get them repaired either through Apple or a third-party repair service.
However, out-of-warranty repairs will incur a charge. Before proceeding, it's worth getting a repair quote as, in some cases, the cost of repair might be high enough to consider purchasing a new pair of headphones instead.
Troubleshooting Connectivity
Troubleshooting connectivity issues with your Beats headphones, especially if they are wireless, involves a few key steps:
- Ensure your headphones are within range of the device they're trying to connect to and that there are no physical obstructions or interference from other electronic devices.
- Check if the Bluetooth feature is activated on both your headphones and the device you're trying to pair with. If they're already paired but not connecting, try forgetting the device in your Bluetooth settings and then repairing them.
- Restarting both your Beats headphones and the device can resolve temporary connectivity glitches.
- Keeping your device's software and the headphones' firmware up to date also helps in maintaining a stable connection.
Cleaning Your Beats Solo
Cleaning your Beats Solo headphones is essential for maintaining their appearance and functionality. Start by using a soft, dry, lint-free cloth to wipe the exterior surfaces gently gently.
Avoid using water, as it can damage the electronics. For tougher grime, slightly dampen the cloth with water or a mild cleaning solution, ensuring it's not wet enough to drip.
Clean the ear cups and headband carefully, and pay special attention to the mesh screens on the earbuds – clogged meshes can impair sound quality.
Avoid harsh chemicals and abrasive materials that can damage the headphone's finish. Regular cleaning not only keeps your Beats looking good but also ensures optimal performance.
How to Reset Beats Solo
Resetting your Beats Solo headphones is a straightforward process that can help resolve issues or connectivity problems. Here's a simple step-by-step guide:
Step 1: Turn Off Your Beats Solo
- Make sure your Beats Solo headphones are powered on.
- If they are already on, turn them off by holding the power button until the indicator light goes off.
Step 2: Disconnect from Devices
- Ensure your Beats Solo is disconnected from paired devices, such as your phone or computer.
Step 3: Charge Your Headphones
- Connect your Beats Solo to a power source using the included charging cable.
- Let them set for at least 10 minutes.
Step 4: Turn On Your Beats Solo
- After charging, turn on your Beats Solo by pressing and holding the power button until the indicator light flashes.
Step 5: Reset the Beats Solo
- Press and hold the power and volume down buttons for about 10 seconds.
- Release the buttons when you see the indicator light flash.
Step 6: Reconnect to Devices
- Turn on the Bluetooth on your device.
- Reconnect your Beats Solo to your device by selecting them from the list of available devices.
Step 7: Test Your Beats Solo
- Check if the issues you were experiencing have been resolved.
- Play some music or make a call to ensure proper functionality.
Updating Firmware and Software
Updating the firmware and software of your Beats Solo headphones is crucial for optimal performance and functionality. Firmware updates often include bug fixes, performance improvements, and sometimes new features.
To update, first, ensure your headphones are fully charged. For wireless models like Beats Solo, you can update the firmware through the Beats Updater software on your computer or via the Beats app for iOS.
Connect your headphones to your computer using the provided USB cable, visit the Beats Updater website, and follow the on-screen instructions. If using the app, follow the prompts to install any available updates.
Always make sure your device's Bluetooth is turned on, and the headphones are within range during the update process. Regularly checking for and installing updates keeps your headphones running smoothly and ensures you're getting the best experience possible from your Beats product.
Considering a Warranty Claim or Repair
If your Beats Solo headphones are experiencing issues that basic troubleshooting can't resolve, consider a warranty claim or repair. Check if your headphones are still under warranty.
If they are, you can claim a repair or replacement through Apple, the owner of Beats. To start a warranty claim, gather proof of purchase and visit the Apple website or an authorized Apple service provider.
If the warranty has expired, you can still get your headphones repaired, but there will be a cost. Compare the repair cost with the price of a new pair to decide if it's worth repairing or better to invest in a new pair.
The Last Words
In conclusion, resolving issues with your Beats Solo headphones often involves a series of straightforward steps. From checking power and battery levels to inspecting for physical damage and troubleshooting connectivity issues, these methods are designed to identify and fix common problems.
Regular cleaning and firmware updates are essential for maintaining their optimal performance. If these steps don't resolve the issue, consider a warranty claim or professional repair, especially if the problem is beyond basic troubleshooting.
Remember, proper care and regular maintenance can significantly extend the life of your headphones. Whether it's through resetting, updating, or cleaning, taking proactive steps ensures that you continue to enjoy the high-quality audio experience that Beats Solo headphones are known for.
Frequently Asked Questions
How long does Beats Solo last?
The battery life of Beats Solo headphones typically ranges from 22 to 40 hours, depending on usage and model. Regular charging ensures optimal performance.
Are Beats worth it?
The value of Beats headphones depends on personal preferences. They offer stylish designs and good sound quality, but some argue you can find comparable audio quality at a lower price. Consider your priorities and budget when deciding if Beats are worth it for you.
About Hamza Liaqat
Hamza Liaqat, our tech maestro, is a software engineer with a passion for cutting-edge technologies and experience of more than 7 years in tech industry. As the founder of DifferentDaily.com, he navigates the tech frontier, unraveling AI, Blockchain, and Web3 intricacies. Hamza's troubleshooting finesse and commitment to practical solutions make him your go-to guide for all things tech. Welcome to innovation, curated by Hamza Liaqat.

